Best Techniques for Cooking Thin-Sliced Chicken Breast in the Oven
Juggling a busy schedule, I’m always in need of quick, wholesome meal ideas my family will love. Cooking thin-sliced chicken breast in the oven is a perfect solution. It’s fast, flavorful, and nutritious. In this guide, I’ll share top techniques and tips for juicy, tasty chicken every time.
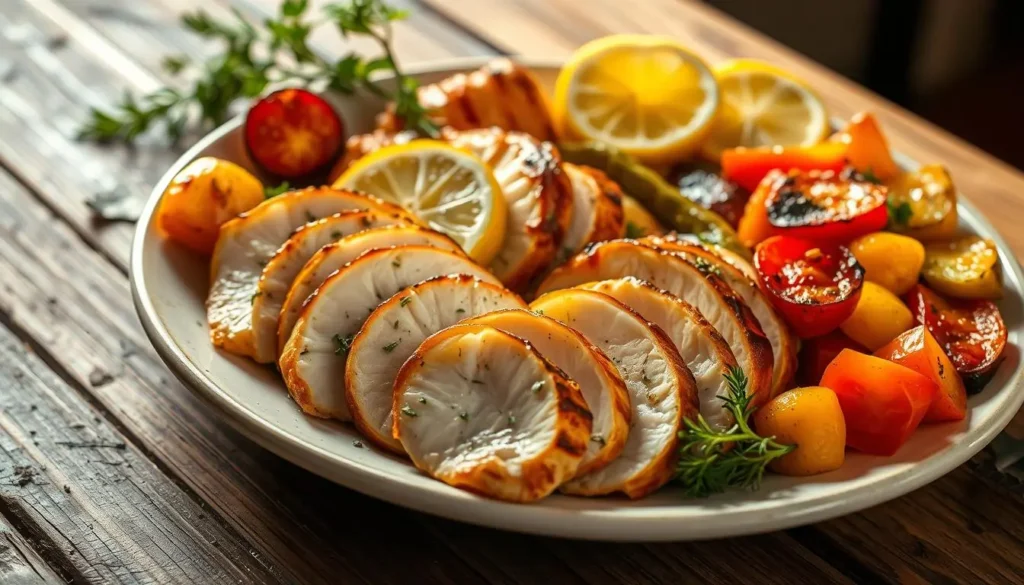
Cooking thin-sliced chicken breasts in the oven is a game-changer. They cook in just 10-12 minutes, keeping their moisture and flavor. Thin-sliced chicken is also super versatile, making it great for many healthy meals. Whether you’re prepping for the week or need a quick dinner, this guide has you covered.
Table of Contents
Understanding Best Techniques for Cooking Thin-Sliced Chicken Breast in the Oven
Thin chicken breast cuts can make your meals quicker and more versatile. These cuts are known for being juicy and flavorful. They’re great for many healthy chicken recipes.
Benefits of Using Thin-Sliced Chicken
- Faster cooking times, ideal for quick and easy meal preparation
- Improved flavor absorption, as the thinner slices allow seasonings and marinades to permeate the meat more effectively
- Suitable for a variety of dishes, from salads and wraps to sandwiches and low-carb meals
Store-Bought vs. Self-Sliced Options
Choosing between thin sliced chicken cutlets can be easy. Buy them ready-to-use or customize your slices at home. Stores like Perdue sell pre-sliced thin sliced chicken breast. Or, you can slice them at home for the perfect thickness.
Optimal Thickness Guidelines
For the best results, aim for a thickness of about 1/4 inch for your thin sliced chicken breast. This technique promotes uniform cooking and retains the chicken’s juiciness. Thicker slices take longer to cook, while thinner ones can dry out.
“For safe consumption, thin-sliced chicken should reach an internal temperature of 165°F when baked or grilled.”
Understanding thin sliced chicken breast opens up a world of tasty and healthy meals. It also makes cooking easier and faster.
Essential Equipment and Tools
For baking thin-sliced chicken breasts, the right tools are crucial. You’ll need a good baking pan and a meat thermometer. These help make your chicken tender and evenly cooked.
Start with a top-notch baking pan or sheet. It should be strong and handle high oven temperatures well. Use parchment paper or a silicone mat to prevent sticking and make cleanup simple.
- Baking pan or sheet: Choose a sturdy, non-stick option for high heat.
- Parchment paper or silicone baking mat: They make cleaning up a snap.
A meat thermometer is also key. It ensures your chicken reaches a safe 165°F. This keeps your chicken juicy and safe to eat. An instant-read thermometer is the best for quick checks.
Don’t forget a sharp kitchen knife for slicing. A sharp knife makes slicing even and helps your chicken cook evenly. It’s important for consistent results.
| Equipment | Importance |
| Baking Pan | Sturdy construction to withstand high heat |
| Parchment Paper/Silicone Baking Mat | Prevents sticking and eases cleanup |
| Meat Thermometer | Ensures chicken is cooked to safe internal temperature |
| Sharp Kitchen Knife | Allows for even slicing of chicken breasts |
With these kitchen tools, you’re ready to bake delicious thin-sliced chicken breasts. Enjoy your culinary success!
Perfect Temperature and Timing Guide
To cook thin-sliced chicken breasts perfectly in the oven, focus on temperature and time. Use an oven temperature of 400°F/205°C. This heat keeps the chicken juicy and tender, without drying it out.
Temperature Settings for Different Results
While 400°F/205°C is the best temperature, you can adjust it for different doneness levels:
- For a tender and moist texture, bake at 375°F/190°C.
- For a firmer, well-done result, use 425°F/218°C.
Cooking Duration Based on Thickness
The cooking time for thin-sliced chicken breasts depends on their thickness. Here’s a general guideline:
- If the slices are 1/4 inch thick, cook them for 10-12 minutes in the oven.
- For 1/2-inch thick slices, bake for 12-15 minutes.
- For 3/4-inch thick slices, bake for 15-18 minutes.
Signs of Doneness
To check if your chicken breasts are cooked right, look for these signs:
- The internal temperature should be 165°F/74°C, as checked with an instant-read thermometer.
- When pierced at the thickest point, the juices should run clear to confirm it’s cooked.
- The meat should be no longer pink and firm, with an opaque appearance.
It’s safer to slightly undercook and then check the temperature. Overcooked chicken can be dry and tough.
| Oven Temperature | Cooking Time (1/4-inch thickness) | Cooking Time (1/2-inch thickness) | Cooking Time (3/4-inch thickness) |
| 375°F/190°C | 12-14 minutes | 14-17 minutes | 17-20 minutes |
| 400°F/205°C | 10-12 minutes | 12-15 minutes | 15-18 minutes |
| 425°F/218°C | 8-10 minutes | 10-12 minutes | 12-15 minutes |
By following these guidelines, you can make perfectly cooked thin-sliced chicken breasts.They’ll be bursting with flavor, tender, and juicy.
Preparing Chicken for Optimal Results
Proper prep is the first step to juicy, tender chicken breasts in the oven. Gently pat the chicken dry with paper towels to ensure better cooking results. This step helps the chicken get a nice sear and crisp exterior while baking.
To make the chicken tender, place the breasts between plastic wrap or parchment paper. Next, take a meat mallet or heavy skillet and gently pound the chicken. This makes the chicken even and tender.
- Pat the chicken dry with paper towels.
- Tenderize the chicken by pounding it between two sheets of plastic wrap or parchment paper.
- Bring the chicken to room temperature before cooking for even baking.
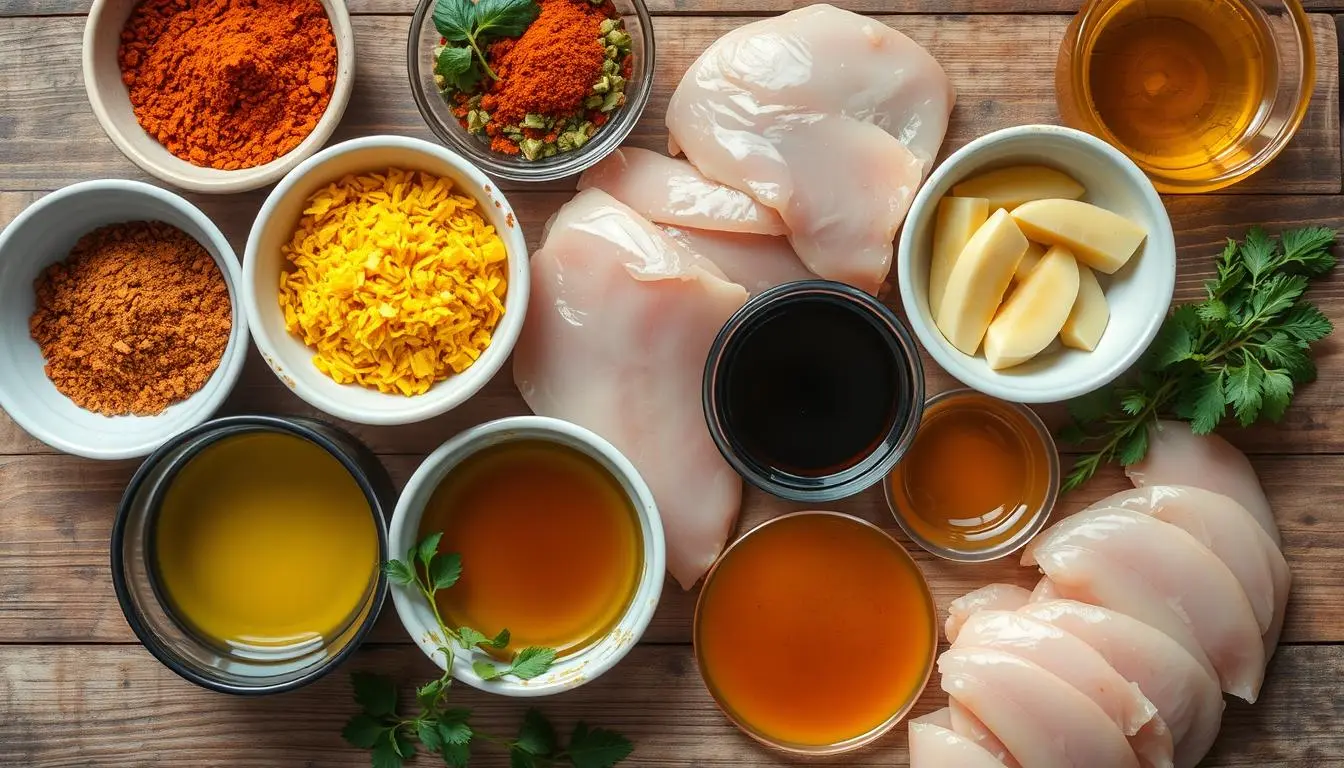
- Season the chicken generously with a blend of spices, such as brown sugar, chili powder, parsley, salt, black pepper, garlic powder, onion powder, and cumin.
For optimal texture, always let the chicken warm to room temperature before cooking. It ensures the meat cooks evenly, leading to juicy results. Season the chicken with a mix of spices to enhance its natural flavors.
| Chicken Breast Weight | Recommended Baking Time | Baking Temperature |
| 4-6 ounces | 18 minutes | 425°F |
| 7-8 ounces | 20 minutes | 425°F |
| 9 ounces and above | 22 minutes | 425°F |
By following these steps, you’ll get perfectly cooked, juicy chicken breasts every time you bake.
Thin Sliced Chicken Breast Oven Techniques
When cooking thin-sliced chicken breasts in the oven, you can choose from two main methods. You can use direct heat or covered baking. Each method has its own benefits and can help you get the results you want.
Direct Heat Method
The direct heat method puts your chicken breasts right on a baking sheet or in a shallow pan. This method makes the outside crispy without drying out the inside. Begin by preheating your oven to 425°F for optimal cooking. Bake the chicken for about 13 minutes, or until it hits 165°F with a meat thermometer.
Covered vs. Uncovered Baking
For the covered baking method, you put a lid or foil over your chicken. This keeps moisture in and prevents the outside from drying out. It’s great for tender and juicy chicken. Bake at 325°F for 13-15 minutes, making sure it’s 165°F inside.
Choosing between direct heat and covered baking depends on what you like and what dish you’re making. Try both to see which one you prefer for your oven-baked chicken.
| Technique | Temperature | Cooking Time | Internal Temperature | Outcome |
| Direct Heat | 425°F | 13 minutes | 165°F | Crispy exterior |
| Covered Baking | 325°F | 13-15 minutes | 165°F | Moist and tender |
No matter the method, make sure your chicken is 165°F inside. This ensures your meal is safe and delicious.
Seasoning and Marinade Options
Boosting the taste of thin-sliced chicken breasts is simple with the right seasonings and marinades. Begin with a mix of garlic powder, onion powder, paprika, and dried herbs like oregano, thyme, or rosemary. This blend brings out the chicken’s natural flavors and adds a rich taste.
For a fresh twist, marinate the chicken in a blend of lemon juice, olive oil, and herbs like parsley, basil, or cilantro. Let it soak in the flavors for 30 minutes to 2 hours for the best taste.
| Marinade Recipe | Flavor Profile | Cooking Technique |
| Italian Dressing | Tangy, Herb-Infused | Bake at 375°F for 30-40 minutes |
| Lemon-Herb | Bright, Fresh | Grill or bake the chicken at 400°F for 25 to 30 minutes until fully cooked. |
| Teriyaki | Sweet, Savory | Bake at 375°F for 35-40 minutes |
Feel free to try out different chicken seasoning and marinade recipes to discover your top flavor combinations. Thin-sliced chicken breasts are versatile, making it easy to match them with various cuisines and tastes.
Moisture Retention Methods
Getting your thin-sliced chicken breasts moist and tender is all about keeping moisture in. Be cautious with oils and butter, and allow the chicken to rest after cooking for the best texture
Oil and Butter Applications
Before baking, lightly brush your thin-sliced juicy chicken with oil like avocado or olive oil. This keeps the juices in, so your moist chicken breast stays moist. Adding a bit of melted butter can also add flavor and richness.
Resting Time Importance
Letting your resting chicken rest for 5-10 minutes after baking is key. This lets the juices spread out, making every bite juicy and flavorful. Don’t skip this step, or your chicken might end up dry.
Using these methods will make your juicy chicken a hit. Serve it with your favorite sides for a meal that’s both delicious and impressive.
Common Cooking Mistakes to Avoid
Cooking thin-sliced chicken breasts in the oven can be tricky. But, with the right techniques, you can avoid common mistakes. One major error is overcooking the chicken, causing it to become dry and tough. Use a meat thermometer to cook the chicken to 165°F. Letting it rest for at least 5 minutes after cooking helps keep it moist.
Another mistake is undercooking, which is not safe. Make sure the chicken is cooked by checking the internal temperature and looking for clear juices. Preheating the oven helps cook the chicken evenly and prevents it from drying out.
Improper seasoning can also affect the flavor of your chicken. Season the chicken well with salt, pepper, and herbs and spices. Brining or marinating the chicken adds flavor and keeps it moist during cooking.
By avoiding these mistakes and following best practices, you can make delicious, juicy chicken every time.
| Common Cooking Mistake | Solution |
| Overcooking | Use a meat thermometer to verify the chicken’s internal temperature is 165°F, and let it rest for 5 minutes before serving. |
| Undercooking | Check the internal temperature and look for clear juices running from the meat to ensure the chicken is cooked through. |
| Improper Seasoning | Don’t be afraid to season the chicken well with salt, pepper, and your favorite herbs and spices.Consider brining or marinating the chicken for added flavor and moisture. |
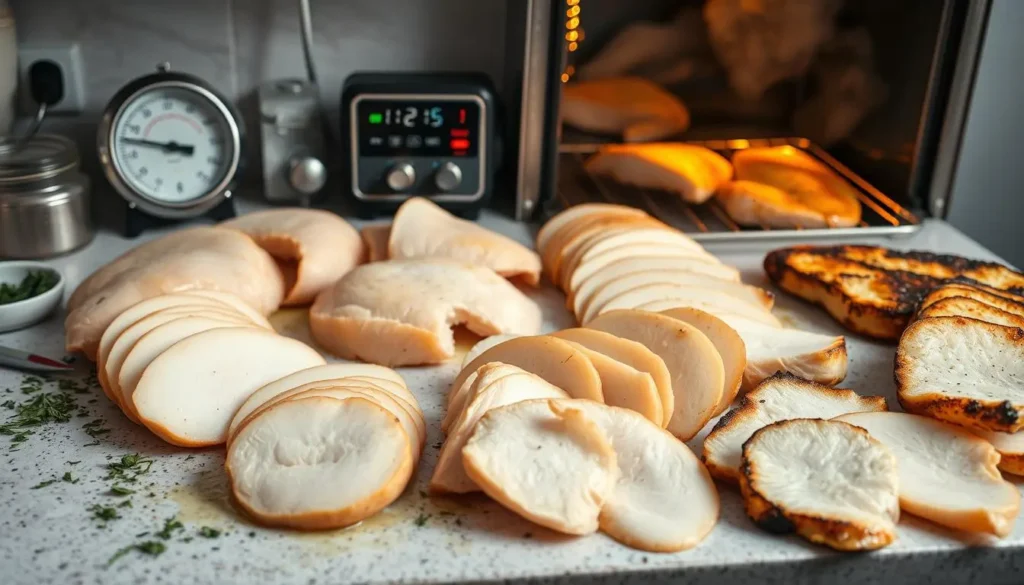
“While it can be tricky to cook thin-sliced chicken breasts in the oven, following the right steps will give you juicy and delicious results”
Meal Prep and Storage Solutions
For effortless meal prep, thin-sliced chicken breasts are a top choice. They can be prepped ahead, stored, and used in many dishes. Here are some tips for using thin-sliced chicken for meal prep and storage.
Meal Prepping Chicken Breasts
For hassle-free meal prep, thin-sliced chicken breasts are the way to go. They cook quickly, so you can bake or grill a lot at once. After cooking, portion them out and store for later. This saves time and keeps you healthy.
Refrigerator Storage
Cooked chicken breasts can stay in the fridge for 2-3 days. Keep them in an airtight container or bag to stay fresh. Reheat to 165°F when you’re ready to eat.
Freezer Storage
For longer storage, freeze the chicken. Freeze raw chicken in a single layer, then bag it. Raw chicken lasts 3 months, cooked chicken 4 months in the freezer.
Utilizing Leftover Chicken
Leftover chicken is versatile. Shred or dice it for salads, wraps, or pasta. You can also add it to soups, casseroles, or quesadillas. There are endless possibilities for using leftover chicken.
Mastering meal prep and storage makes thin-sliced chicken a great choice. With a little planning, you’ll always have a protein-rich meal ready. This makes weeknight dinners easy.
Complimentary Side Dishes
Pairing thin-sliced chicken breasts with side dishes is key to a balanced meal. The right sides can enhance flavor and add variety in texture. This makes the chicken even more enjoyable to eat.
Vegetable Pairings
Roasted or sautéed veggies are great side dishes. Try pairing baked chicken with roasted broccoli, green beans, or Brussels sprouts. A fresh mixed salad with arugula, Honeycrisp apples, and blue cheese is also a good choice.
These sides enhance your meal with both color and nutrition. They help make your dish complete and healthy.
Grain and Starch Options
Adding grains and starches to your meal balances out the protein from the chicken. Quinoa, brown rice, or roasted baby red potatoes are all good choices. They make your meal filling and satisfying.
For extra flavor, toss these grains or potatoes with herbs, spices, or a tangy vinaigrette. It adds a delightful, personal touch to your dish.
FAQ
Why is using thinly sliced chicken breasts a smart choice?
Thin-sliced chicken breasts cook faster and absorb flavors better. They make the chicken moist and tender. Plus, they offer many meal options.
What is the optimal thickness for thin-sliced chicken breasts?
The best thickness for even cooking is about 1/4 inch. It guarantees that the chicken cooks quickly and remains tender.
What are the essential tools needed for baking thin-sliced chicken breasts?
You’ll need a good baking pan, a meat thermometer, and a sharp knife. A high-quality baking sheet paired with parchment paper makes cleaning up a breeze.
What is the recommended oven temperature and cooking time for thin-sliced chicken breasts?
Cook at 400°F/205°C. For 1/4 inch thick slices, cook for 10-12 minutes. The chicken is ready when it hits 165°F/74°C and the juices are clear.
How should thin-sliced chicken breasts be prepared before cooking?
Dry the chicken, use tenderizing methods, and marinate for flavor. Let the chicken warm up to room temperature for even cooking.
What are the different oven techniques for cooking thin-sliced chicken breasts?
You can use direct heat or covered baking. Direct heat makes the outside crispy, while covered baking keeps it moist.
What are some seasoning and marinade options for thin-sliced chicken breasts?
Try simple spice blends like garlic powder and paprika. Marinades with lemon juice and olive oil are a great option as well. You can match flavors to your favorite dishes.
How can thin-sliced chicken breasts be kept moist during and after cooking?
Coat the chicken with oil or butter to retain moisture, then let it rest for 5-10 minutes after cooking. This helps the juices spread evenly.
What are common mistakes to avoid when cooking thin-sliced chicken breasts in the oven?
Avoid overcooking, undercooking, and bad seasoning. Make sure to preheat the oven. Follow the recommended cooking times and techniques.
How can thin-sliced chicken breasts be used for meal prep?
They’re great for meal prep. Cooked chicken can be stored in the fridge or freezer. Use leftovers in different dishes. Just remember to store and reheat safely.
What are some complementary side dishes to serve with thin-sliced chicken breasts?
Pair with roasted veggies like broccoli or green beans. Also, try grains like quinoa or brown rice. These sides go well with baked chicken.
There are no reviews yet. Be the first one to write one.

